

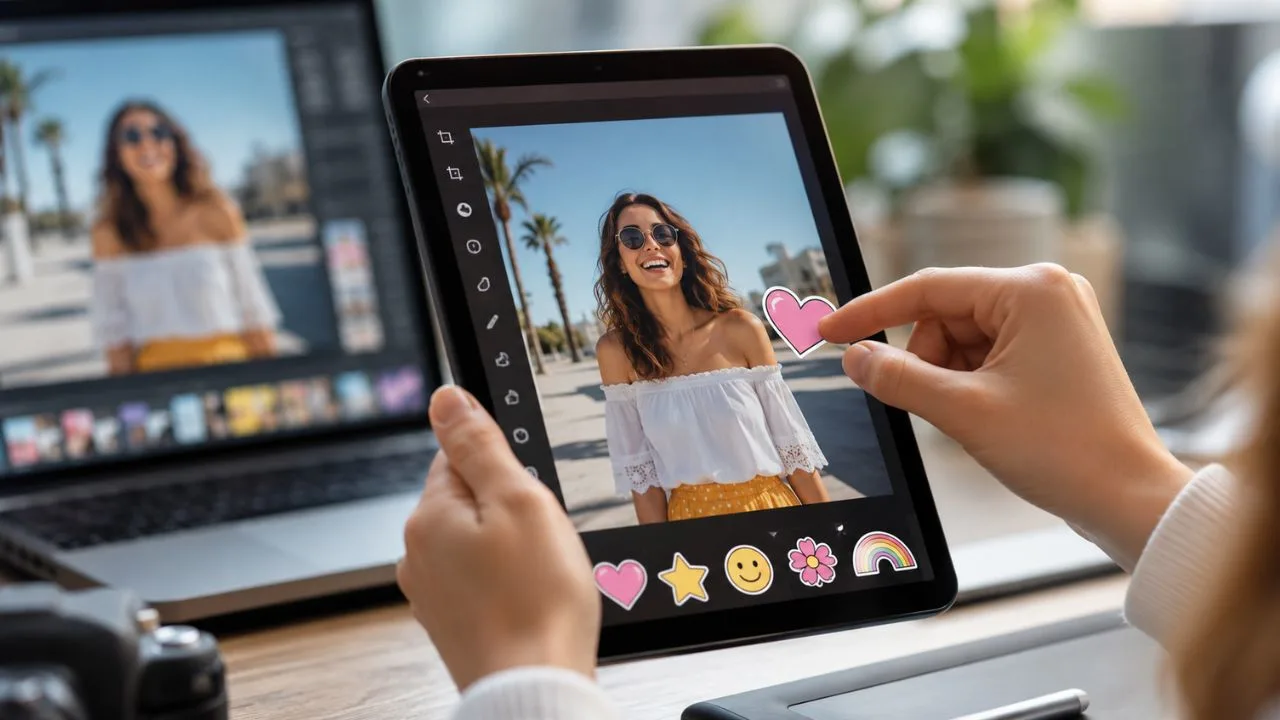

How to Add a Sticker to a Picture on Any Device
Stickers can turn an ordinary picture into a more expressive, informative or entertaining visual. You can use them to highlight an object, hide private information, promote an offer or create engaging social media content. Learning how to add a sticker to a picture is simple once you choose the right editing method for your device.
Most modern smartphones include basic photo-editing tools, but their sticker features are not always located in the same place. An iPhone uses the Photos and Markup tools, while Samsung phones provide sticker controls inside the Gallery editor. Other Android users may need Google Photos, Canva, Instagram or another photo sticker editor to complete the task.
You can choose a ready-made sticker, add an emoji or create a custom sticker from one of your own photographs. After adding it, you can normally resize, rotate, duplicate and reposition the sticker. Some editors also let you change its colour, transparency, border or visual style before saving the finished picture.
This guide explains how to add stickers to photos on iPhone, Android, Samsung, Instagram and Canva. It also covers custom stickers, emoji overlays, image quality and common editing problems. Follow the section for your preferred device or application, then use the design tips to make the finished image look clean and natural.
Choose the Best Sticker Method
The best editing method depends on where you plan to use the completed image. A built-in phone editor is suitable when you want to make a quick personal picture. A design platform such as Canva provides more control when you are creating a promotional post, blog image, invitation, advertisement or branded social media graphic.
You should also decide whether you need a decorative sticker or a custom cutout. Decorative stickers include hearts, arrows, stars, speech bubbles and seasonal illustrations. Custom cutouts are created by isolating a person, pet or object from another photograph and placing that subject over the main image as a reusable sticker.
Check whether you want to save the edited picture or publish it directly. Instagram can place stickers on Stories and Reels, but those stickers are primarily designed for content shared through Instagram. A photo-editing application is generally more suitable when you need a permanent image that can be uploaded to several different platforms.
Consider privacy before uploading personal photographs to an online editor. Built-in phone tools may be more appropriate for confidential pictures because the editing can remain on your device. For ordinary social images, online tools offer larger sticker libraries, better positioning controls and easier access across phones, tablets and desktop computers.
How to Add a Sticker to a Picture on iPhone
To learn how to add a sticker to a picture on iPhone, begin by opening the Photos app and selecting the image you want to decorate. Tap Edit, open the Markup tools and select the add button. Choose Add Sticker, then tap the sticker you want to place over the photograph.
Once the sticker appears, drag it to the required position with one finger. Use the handles around it to make the sticker larger or smaller, and rotate it until it matches the angle of the picture. Keep important faces and objects visible unless the purpose of the sticker is to hide sensitive information.
Tap Done after you are satisfied with the placement, then confirm the photo edit. Apple also allows users to create stickers from the main subjects in their photographs. Open a suitable picture, touch and hold its main subject, release it and select Add Sticker from the menu that appears.
The new custom sticker becomes available through the iPhone sticker menu and supported Markup tools. Apple also provides optional visual effects such as Outline, Comic and Puffy for eligible photo stickers. Stickers created on an iPhone can sync through iCloud to supported Apple devices using the same Apple Account.
How to Add a Sticker to a Picture on Android
The steps for learning how to add stickers to pictures on Android vary because phone manufacturers use different gallery applications. Begin by opening your Gallery or Photos app, selecting the required picture and tapping Edit. Look for options named Stickers, Decorations, Elements, Markup, Draw or More within the editing toolbar.
Select the sticker category and browse the available designs when your phone includes this feature. Tap a sticker to place it over the image, then drag it into position. Pinch the sticker to change its size and use the rotation control when available. Save a copy instead of overwriting your original photograph.
Google Photos can create custom stickers from clear subjects on many updated Android devices. Open a photograph, press and hold the main subject, and wait for Google Photos to outline it. You can then copy or share the resulting sticker through compatible applications such as Instagram, WhatsApp and Messages.
Google says its sticker feature is available on many updated Android devices with at least 4 GB of RAM. The current tool focuses on creating, copying and sharing the selected subject, and Google notes that the generated sticker cannot yet be modified within that process. Availability may therefore vary by device and application.
How to Add Stickers in Samsung Gallery
Samsung Galaxy users can add stickers directly through the Gallery application. Open Gallery, select the picture you want to edit and tap the pencil-shaped Edit icon. Choose the Decorations icon, which normally looks like a smiling face, and then select Stickers to open the available sticker controls.
Choose an existing sticker from the available categories or tap the Gallery icon to use one of your own images. When creating a custom sticker, select the source picture and identify the subject you want to isolate. Samsung may automatically detect the subject, but supported devices also provide selection tools for refining the chosen area.
After creating the sticker, choose a visual style and place it over the original picture. You can drag it to another position, resize it, flip it horizontally, create a duplicate or remove it. Samsung also provides options for adding a border, changing its thickness and selecting a suitable border colour.
Tap Save when the sticker is positioned correctly, then confirm the change when prompted. Samsung notes that menus and available features can vary by phone model and software version. Saving an additional copy is a sensible approach when you want to keep an unedited version of the original image.
How to Add a Sticker to an Instagram Picture
Instagram offers a quick method for placing interactive or decorative stickers over pictures. Open Instagram, begin creating a Story or Reel and choose the photograph you want to use. Tap the Stickers button at the top of the editing screen, then select a sticker from the available menu.
Instagram stickers can include locations, music, polls, questions, links, GIFs, countdowns and interactive prompts. The exact selection can differ by region, account and content format. Tap your chosen sticker, drag it to the required position and pinch it with two fingers to resize or rotate it.
Instagram also provides a Cutouts feature for creating custom stickers from photographs or videos. While creating a Story or Reel, open Stickers, select Cutouts and choose media containing a clearly visible subject. Instagram automatically isolates the subject and converts it into a sticker that can be placed over the current content.
Check the entire picture before publishing because interactive stickers can cover faces, products or text on smaller screens. Place important stickers within a comfortable distance from the edges so they are not hidden by Instagram’s interface. You can then share the content, save a copy when available or continue adding other visual elements.
How to Add Stickers to Photos in Canva
Canva is useful when you want to add a sticker to a photo online without relying on a specific phone model. Open Canva in its application or website, create a design with the required dimensions and upload your photograph. Place the image on the design page and adjust it until it fills the canvas correctly.
Open Elements and search for a word describing the sticker you need, such as heart, arrow, flower, sale, birthday or speech bubble. You can also search the general term “sticker” to browse Canva’s collection. Tap or click a design to place it directly over your uploaded photograph.
Drag the corner handles to resize the sticker while maintaining its proportions. Use the rotate control to change its angle and the Position menu to move it above or below other design elements. Depending on the sticker, Canva may also let you edit its colour, transparency, animation or other visual properties.
When the design is complete, use the download option and choose a suitable image format. JPG is convenient for ordinary photographs, while PNG is useful for graphics requiring sharp details. Canva’s sticker tools are available through desktop and mobile interfaces, although free and premium elements may appear together in search results.
How to Create a Custom Sticker From a Photo
A custom sticker is created by removing or hiding the background around a subject. Choose a source image containing a clearly defined person, pet, product or object. A simple background, strong lighting and visible edges make it easier for an automatic selection tool to separate the subject accurately.
On an iPhone, open the source image in Photos and touch and hold its main subject. Tap Add Sticker when the option appears, then apply an effect when desired. Apple states that photo stickers can be used to decorate pictures, messages, notes and other supported content through the sticker menu.
On a supported Android device, Google Photos can identify a standout subject after you press and hold it. Tap Copy or Share once the sticker has been created. For direct placement over another image, paste it into a compatible application or open a photo editor that supports custom image layers.
Samsung Gallery offers more direct customisation when the relevant tools are available. You can create a sticker, refine the selected area, choose a free-form or shaped crop and add a coloured border. After finishing the sticker, position it over the original picture and save the edited image from Gallery.
How to Put an Emoji on a Picture
Adding an emoji is one of the quickest alternatives when a full sticker library is unavailable. Open the photograph in an editor that supports text, emoji or graphic overlays. Select the text tool, open your device’s emoji keyboard and choose the emoji you want to place over the picture.
After inserting the emoji, increase its size until it looks like a graphic rather than a small text character. Drag it over the required area and rotate it when the editor provides that option. This approach works well for covering a face, showing a reaction or adding a simple visual accent.
The appearance of an emoji may change when the picture moves between operating systems or applications. Saving the completed image normally converts the emoji into part of the picture, preventing later platform differences. Check the saved version before posting it to ensure that its shape, position and colour remain correct.
Avoid placing too many emojis around the photograph because they can distract from the main subject. One carefully positioned emoji often communicates more clearly than several unrelated graphics. Use emojis that match the image’s message, audience and emotional tone instead of selecting them only because they look colourful.
How to Position and Resize Stickers
Correct placement makes the sticker feel like part of the picture rather than an accidental addition. Start by identifying the image’s main subject and available empty space. Place decorative stickers in quieter areas, while arrows, labels and promotional graphics should appear close enough to the object they describe.
Resize the sticker according to its purpose. A small decorative heart can support the image without dominating it, whereas a sale label may need to be large enough to read on a phone screen. Zoom out occasionally while editing because a sticker that looks balanced close up may appear oversized in the complete picture.
Use rotation to follow the direction of nearby lines, faces or objects. A slightly angled sticker can feel energetic, while a straight sticker looks cleaner and more formal. When your editor includes alignment guides, use them to centre the graphic or maintain consistent spacing between multiple stickers.
Leave enough space around text-based stickers so every word remains readable. Avoid placing pale stickers over bright backgrounds or dark stickers over heavy shadows. When contrast is weak, add a border, shadow or solid shape behind the sticker instead of making it unnecessarily large.
How to Make Stickers Look Natural
Choose stickers that support the photograph’s existing mood and visual style. A hand-drawn sticker may suit a casual family photo, while a clean geometric label works better for a business image. Matching the sticker’s design with the picture creates a more intentional and professional result.
Pay attention to colour. Select a sticker that complements colours already visible in the photograph or creates enough contrast to stand out. Avoid using several competing colours unless the image has a playful purpose. Repeating one accent colour across multiple elements can create a more organised composition.
Transparency can help a sticker blend into the image without completely covering the background. Reduce opacity slightly when the editor provides that control, particularly for large shapes, highlights or decorative patterns. Keep important text and functional icons fully visible because excessive transparency can make them difficult to understand.
Do not mix too many different sticker styles in one picture. Combining realistic cutouts, cartoon characters, neon icons and hand-drawn shapes can make the design look inconsistent. Choose one dominant style and limit the number of supporting graphics so the original photograph remains the main focus.
How to Save the Picture Clearly
Always review the image at full size before saving it. Check the sticker’s position, spelling, border and visibility, then look for any accidental marks created during editing. Zoom into the edges of a custom sticker because poorly selected backgrounds can leave an unwanted outline around the subject.
Use Save as copy, Duplicate or a similar option when it is available. This protects the original photograph and gives you an unedited version to use later. Overwriting the only copy can become a problem when the sticker is placed incorrectly or the editor reduces the image quality.
Choose JPG for ordinary photographs that need a manageable file size. Select PNG when the image contains sharp text, illustrations or graphics that should remain especially clear. Some social media applications compress uploaded images, so begin with a reasonably large, high-quality file rather than repeatedly editing a compressed screenshot.
Open the saved picture outside the editing application before sharing it. Confirm that the sticker has become part of the final image and is not stored only as an editable layer. Also check its appearance on a smaller screen because social platforms may display the picture differently from the original editor.
Why the Sticker Option Is Missing
A missing sticker button may indicate that the application or operating system needs an update. Open your device’s app store, check for updates and restart the application after installation. Features are sometimes added gradually, so the same editing option may appear on one phone but remain unavailable on another model.
On Android, sticker tools vary significantly between device manufacturers. Google Photos may let you create and share a subject sticker without offering the same editing workflow as Samsung Gallery. When your built-in editor lacks sticker placement, use Canva, Instagram or another reputable photo sticker editor instead.
Automatic subject selection can also fail when the source image is dark, blurry or crowded. Try another photograph with stronger contrast between the subject and background. Crop the image closer to the desired object before creating the sticker, or use an editor that provides manual selection and background-removal tools.
When a sticker disappears after saving, reopen the picture and confirm that the editing process was completed. Some applications require separate confirmation buttons for the sticker layer and final image. Saving a test copy before making a complicated design can prevent you from losing several minutes of editing work.
FAQs
How do I add a sticker to a picture without an app?
Use the built-in Photos or Gallery editor on your phone. iPhone and many Samsung devices include sticker or Markup tools, although availability depends on the device and software version.
Can I add my own sticker to a photo?
Yes. You can isolate a person or object from another picture and save it as a custom sticker. iPhone, Google Photos and Samsung Gallery provide subject-selection tools on supported devices.
How do I put a sticker over a face?
Open the picture in a sticker editor, choose an emoji or graphic and drag it over the face. Resize the sticker until the entire identity is properly covered.
Can I remove a sticker after saving the picture?
You may be able to remove it when the editor stores reversible changes. When the edited image is saved as a new flattened file, the original sticker layer usually cannot be removed separately.
What is the best app for adding stickers to pictures?
The best choice depends on your goal. Built-in editors are convenient for quick changes, while Canva offers more graphics and controls for polished social media or marketing images.
How to Add a Sticker to a Picture: Final Steps
Learning how to add a sticker to a picture begins with choosing a suitable editing tool. iPhone users can use Photos and Markup, Samsung users can work through Gallery, and other Android users can create custom stickers with Google Photos or use an editor that supports overlays.
For social content, Instagram provides decorative and interactive stickers for Stories and Reels. Canva is a stronger option when you need to add a sticker to a photo online, control the exact canvas size or create an image that can be downloaded and used across multiple platforms.
After selecting the sticker, resize and position it without hiding important parts of the photograph. Match its colour and style with the original image, maintain enough contrast and avoid adding unnecessary graphics. A simple design with one clear visual purpose usually produces the strongest result.
Finally, save a separate copy and inspect the completed picture before sharing it. Confirm that the sticker is sharp, correctly positioned and readable on a smaller screen. Following these steps will help you add ready-made, emoji and custom stickers while keeping the final photograph clean and engaging.